Bringing your images to life– It’s in the details, and time.
James Maynard
Bringing an interior image to life begins with the composition, followed by carefully addressing lighting, staging and any problem areas in exposure during the editing stage. This takes a keen eye, time and discipline during the shoot and in post editing. To achieve the highest level imagery, top published Architectural and Interior photographers spend hours scouting shoot locations to plan the optimal lighting conditions and to assess options for the best compositions. Often times one image will take well over an hour to compose, stage, and to address the appropriate lighting for the scene. This is only the beginning of the time investment needed to create a stunning final image. It is not uncommon in the highest level post production workflow for a photographer to invest 10-12 hours of time to create one publish quality image. In the following example of a home shot in Snowmass Colorado for an ASID Award set, I’ll walk through establishing the composition and set-up required to achieve the look and feel that I wanted and the steps during the shoot and post editing to achieve the final image.
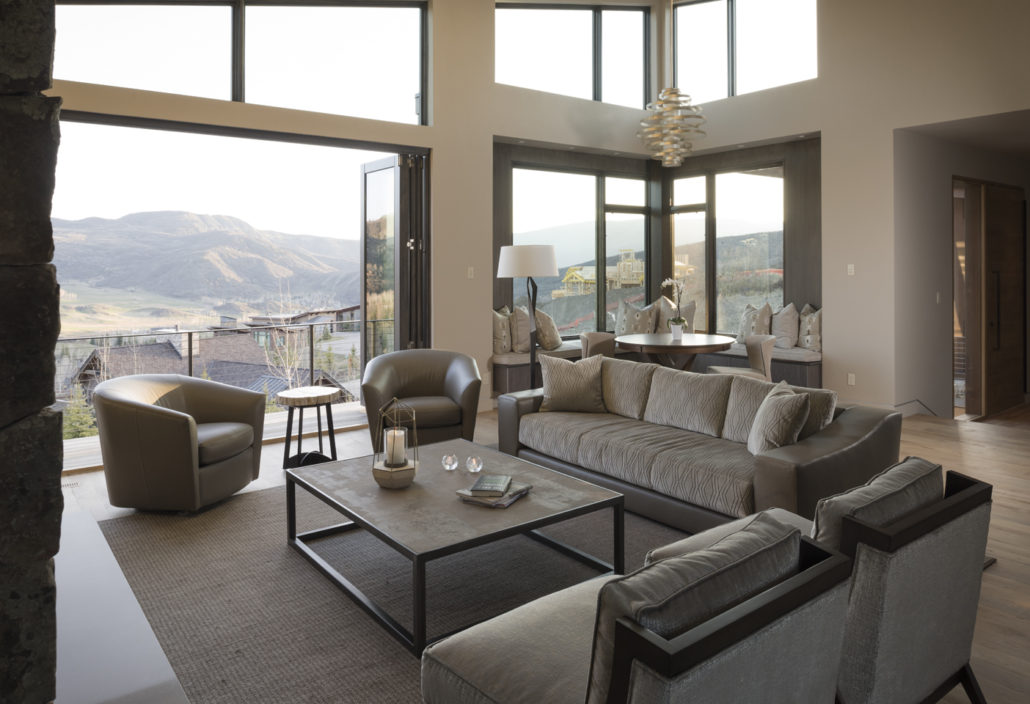
The image to the right represents a mid-level exposure for the interior that was used as part of a three exposure stack to create the final image. Here are the specifics:
- During the previous day’s scout of the location the Designer (Debra Browne of Harrison Browne Interiors) and I decided we wanted this image to be very natural feeling, and represent the view in the morning as the sun washed across the hills in the distance. We wanted a morning feel inside with just a bit of warmth from some interior lighting.
- After composing the shot and reviewing an exposure for the interior, there were several things that needed to be addressed. Firstly, the ambient, natural lighting was soft but very flat. To bring out some shimmer and character in the fabrics on the sofa and chairs, We used selective pops of flash. This gave depth and dynamics to the setting and was done so to maintain a predominately natural lighting feel. Flash was also used in other select areas to bring up the detail in the shadows.
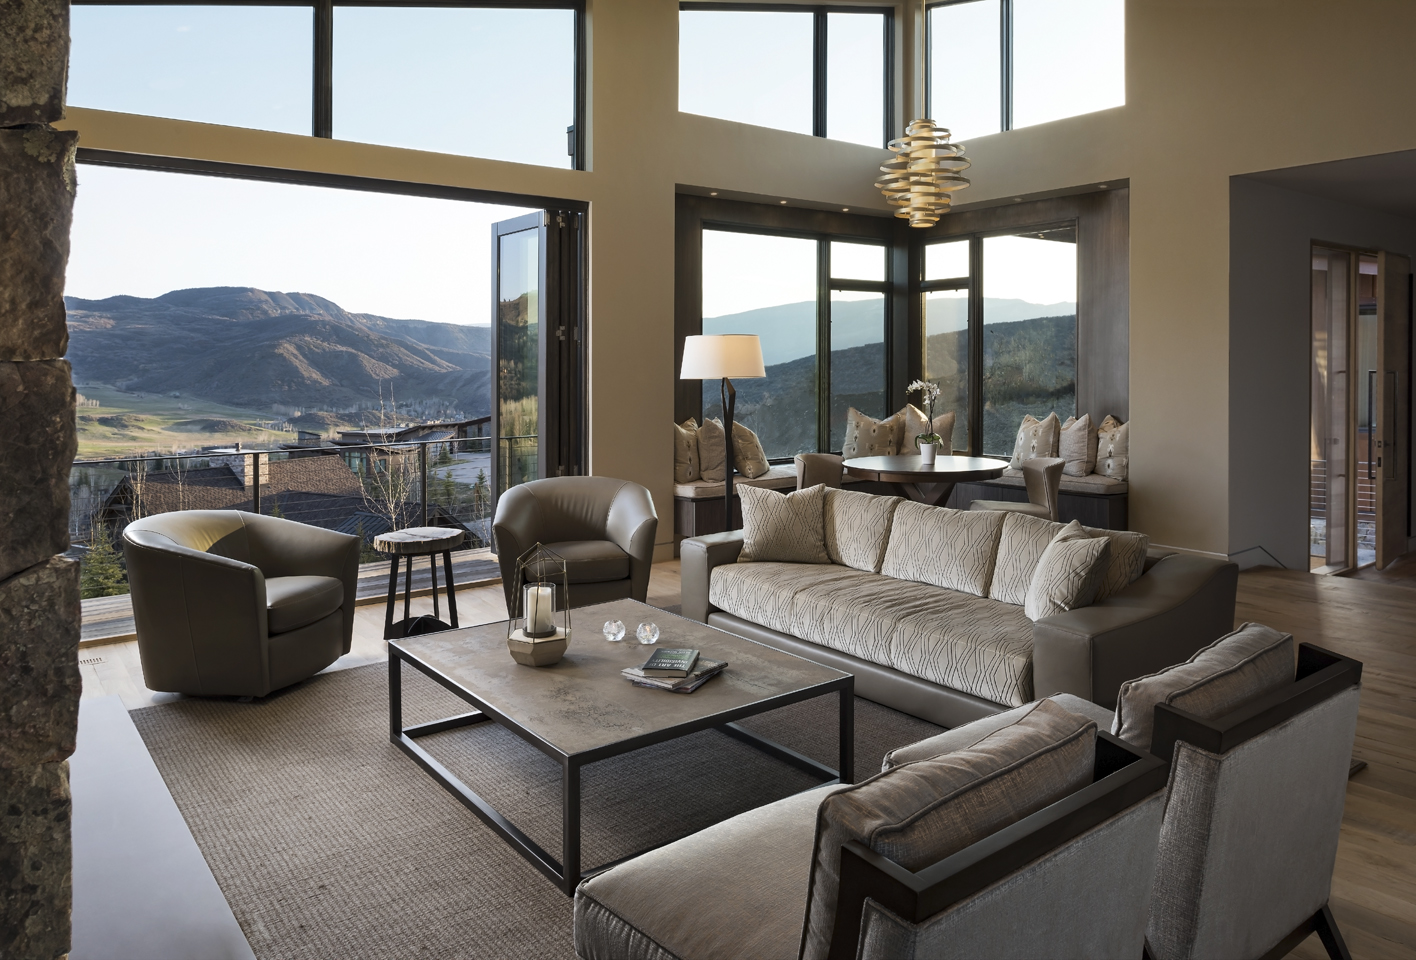
- The next step was to bring together specific elements of several shots to give the correct exposure on the hills and sky outside the open doors/windows and to achieve the best dynamic range between shadows and highlights within the interior and exterior. This exposure blending is never done with automated HDR, rather worked in by hand, the slow, meticulous and artistic way to create reality and life throughout the image.
- The final step was to carefully remove buildings and construction equipment that was visible in the windows and to clone away several extraneous items from the image.
- Lastly, curves were adjusted carefully to add depth to the final image seen below.


